How to Give Your Old Furniture a New Look
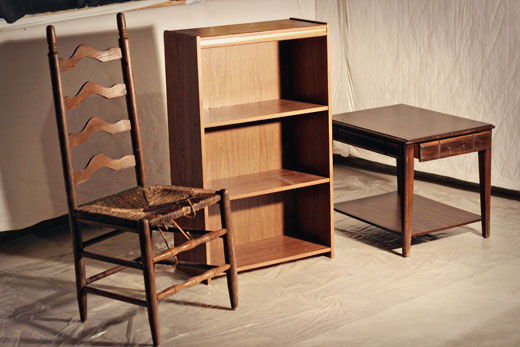
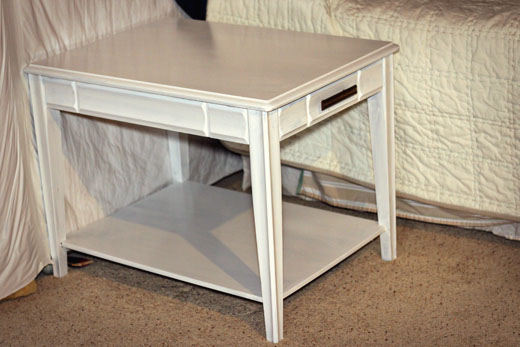
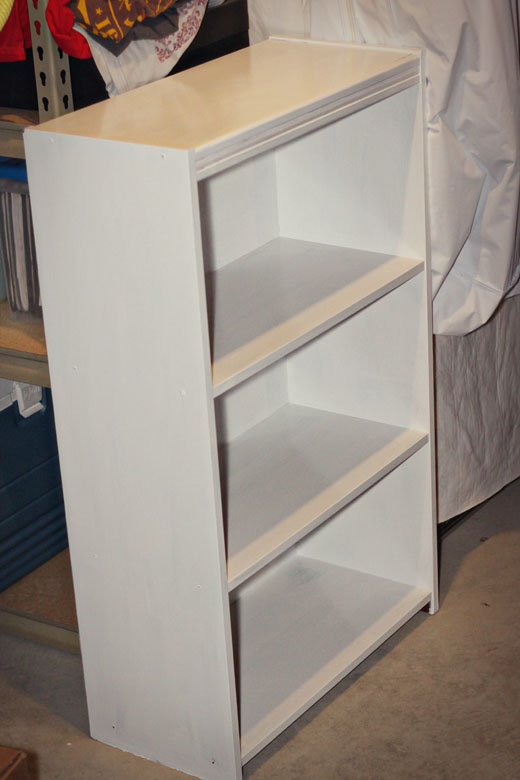
Over our Christmas vacation we completed a lot of projects. The biggest task we started to tackle was cleaning out our basement, and in doing so we were energized to find uses for some of the old furniture we had sitting down there. Most of the pieces aren't made out of real wood, but rather were just veneer-coated and cheap-looking. We had a bookshelf, dresser and a bedside table that needed a makeover. We also picked up a wicker seat dining room chair off the side of the road about a year ago in hopes of fixing it up into something cool.
It was finally time to cross some projects off the list! Here's what we started with. (The dresser is not shown, as it was a last minute addition to the project.)
We decided we wanted to paint everything white just to keep it simple. I went to Lowe's with a short list of things we needed:
- Paint. At the recommendation of a friendly Lowe's employee, we went with some Valspar Latex Enamel: Gloss White. While we like a matte finish better, the gloss white is supposed to stick better and prevent from scratches and nicks.
- Foam brushes. Another recommendation from the guy at Lowe's. The foam brush doesn't leave streaks like a regular brush. We bought a big three-inch and a 1-inch brush.
- Staple gun and staples. I didn't own one of these previously, but got the stapler and staples for less than $20.
- Plywood. We bought a 2' x 2' piece of plywood to re-enforce the bottom of the chair and to give us something to staple the fabric to. (You can see in the photo above that the woven rope was falling apart...probably why the original owners abandoned it!)
- Foam. We went to Hobby Lobby, which has a variety of options of square foam pieces for furniture. We went with the thickest option.
What we had on hand:
- Work light. Our basement isn't very well-lit, so the work light helped to show the crevasses that needed some extra attention.
- Plastic. We have a roll of plastic on hand from other painting projects.
- Radio. Music makes working on projects fun. A must have!
- Fabric. We bought some fabric while on our last trip to IKEA for the chair.
- Miscellaneous common household tools. Along the way I needed a screwdriver, screws, cordless drill, circular saw, tape measure and utility knife.
Painting
Once I had all the tools gathered, I set up the work area as shown in the picture above and then started painting. The chair was a bit tricky because there were so many tight spots, but the other pieces of furniture have big areas that were very easy to paint quickly.
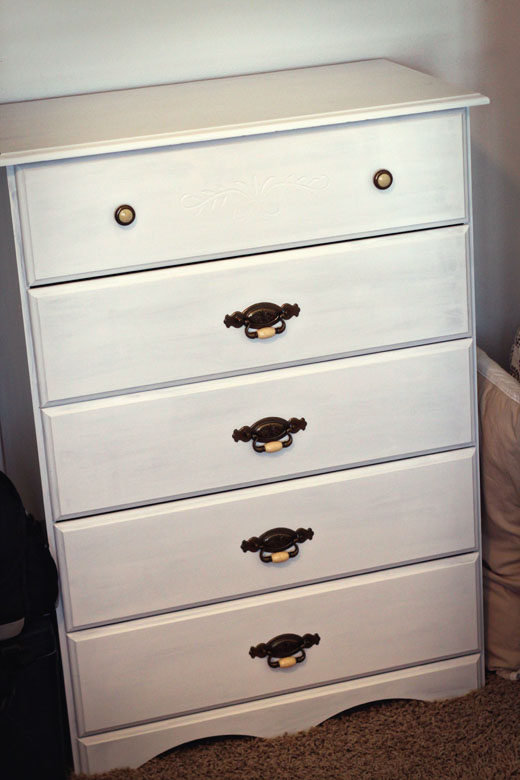
It took three coats of paint on each piece, but you may wish to add more. We intentionally stopped at three because we wanted to still be able to see the wood. By the time I was done with the last piece the others were dry enough to start the next coat, so the project moved fairly quick. I added the dresser to the rotation after everything else had two coats of paint.
(I'm planning to update the hardware on the dresser, too!)
Finishing the Chair
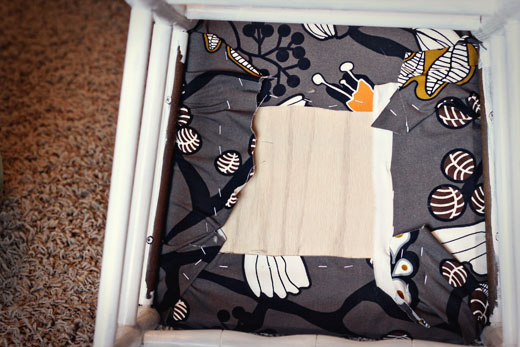
After painting, I needed to cut the board for the bottom of the chair. I simply measured the opening on the bottom side and cut the board to fit. Then I used some short wood screws to put in place.
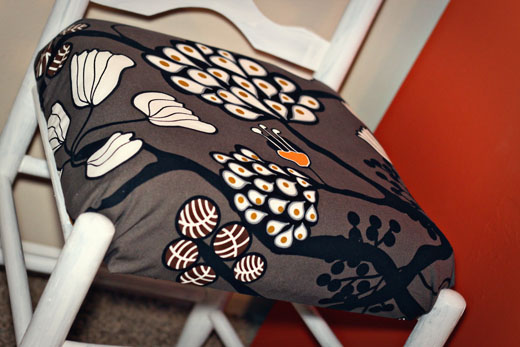
Then I just had to cut out the foam to fit and stretch the fabric over the chair and staple it to the plywood.
Kelsey uses this chair every day to do her hair and makeup in front of our full-length IKEA mirror. It looks great in our bedroom next to the orange TV stand we painted a couple years ago!
So there you have it! Do you have any old furniture sitting around that you would like make over?

